Thursday, May 26, 2022

Take & Make Craft Kit: Sun Stitching

  I introduced this to-go craft kit as we welcomed the sun shining in spring!  But really, it could be used to celebrate the sun any time of year!  

Supplies provided in the kit:
Plastic large-eye sewing needle
Yarn
Burlap fabric
Embroidery hoop
Cardboard circle
Pencil


What you need from home:
Scissors
Optional: Pens, buttons, sequins, craft foam, etc. for decorating


Instructions: 

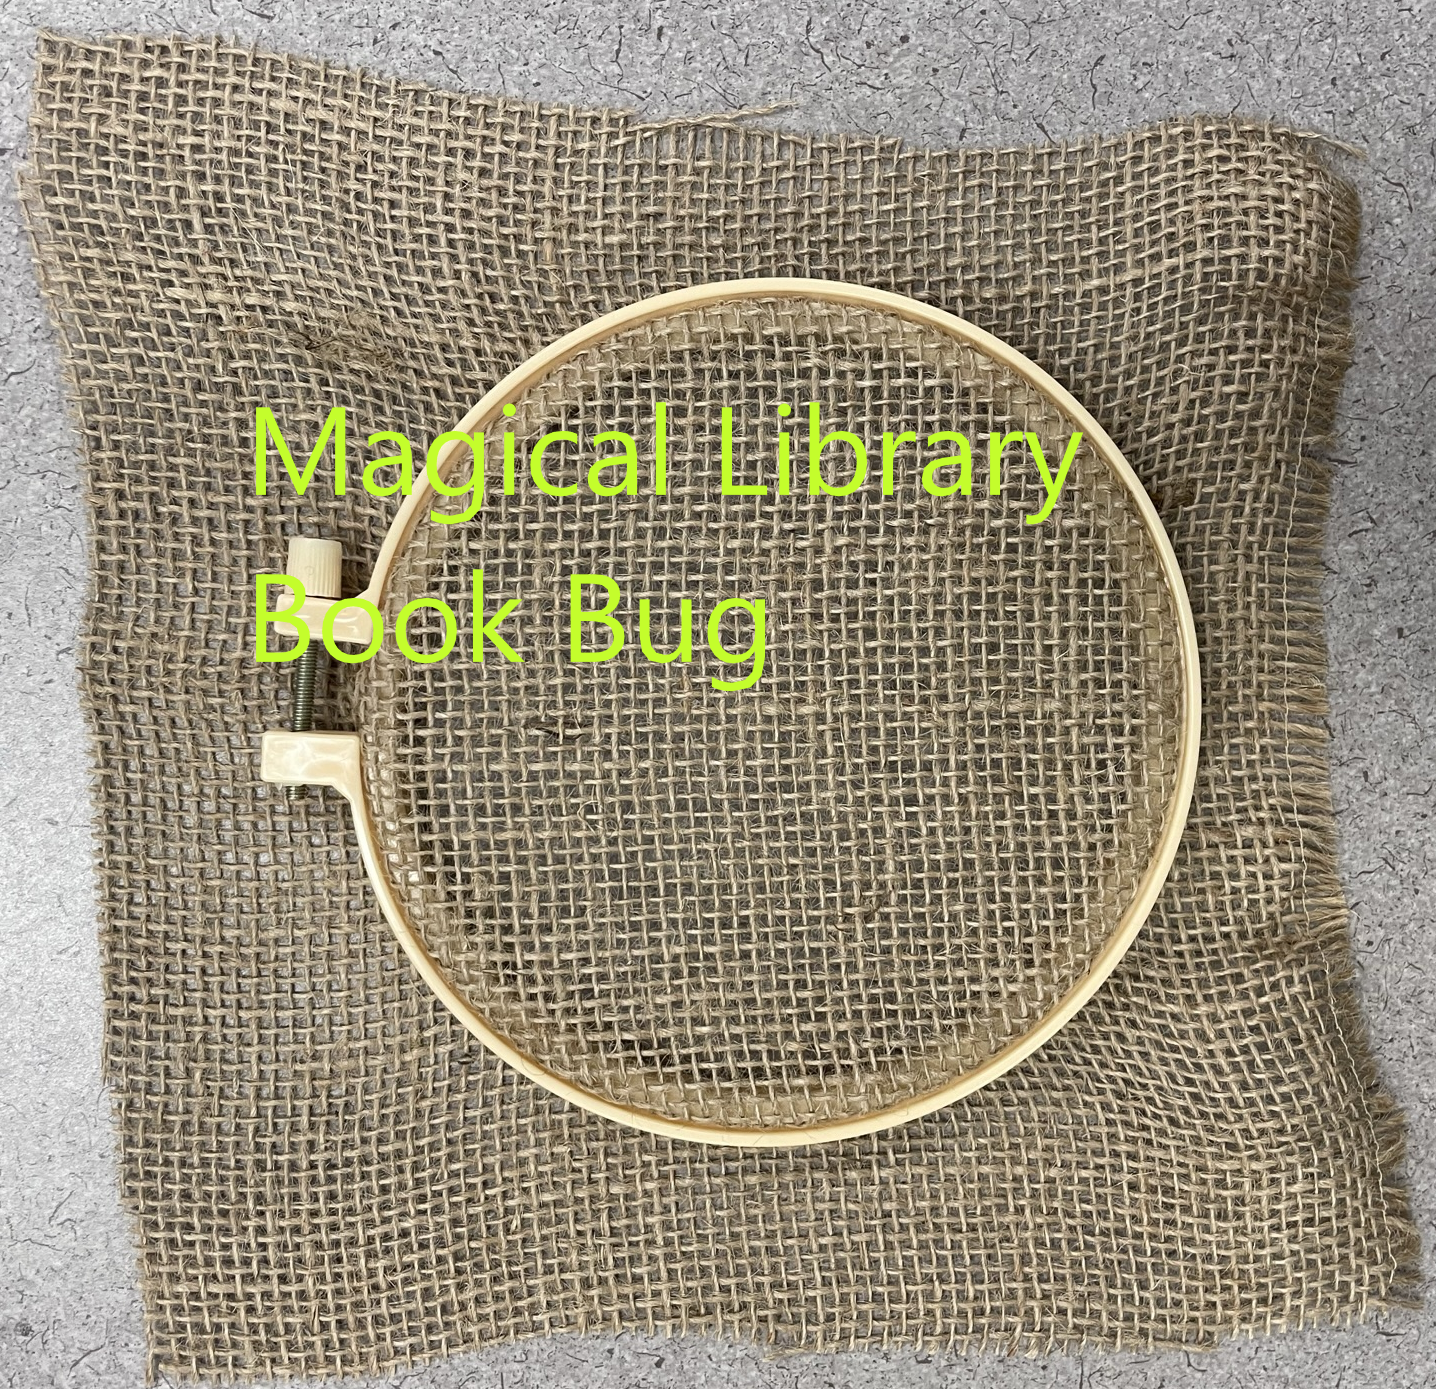
1. Clamp the burlap fabric inside the embroidery hoop
2. Thread the needle
Cut the yarn into 2 foot long lengths. Push one end of the yarn through the eye of the needle. Leave about 2-3 inches on one side of the needle.  Tie a knot at the end of the long side of yarn.  Large knots are best. 

3. Trace the circle of your sun
Using the cardboard circle and the pencil, lightly trace the circle in the center of the burlap inside the embroidery hoop. 

4. Stitch the circle of your sun
Start from the back side of the hoop, poke the needle through the burlap somewhere along your pencil line circle.  Carefully pull the needle and yarn through.  Stop when the knot gets to the burlap.  Do not pull the knot through the fabric.  Now, a little way away from where your yarn came through the fabric, but still on the pencil line circle, push and pull the needle and yarn back through the fabric from the front side.  You made your first stitch!

A little way away from this spot, but still on the pencil line circle, poke and pull the needle and yarn through again from back to front.  Poke and pull the needle again, a little way away, from front to back. Continue this back and forth stitching from back to front, front to back, all the way around the pencil line circle.  

When your stitches go all the way around the circle, make sure your last stitch ends with the needle and yarn on the backside.  Unthread your needle.  Tie a knot as close to the burlap fabric as you can make it.  Cut off the extra yarn.  

5. Stitch the rays of the sun
Think about where you want your sun rays to come off the circle.  If needed, use the pencil to lightly draw the straight lines of the rays onto the fabric.  

Thread your needle.  Knot the long end of the yarn.  Choose the spot for your first straight line ray.  From the back side of the fabric, poke and pull the needle and yarn through the fabric at one end of the ray line.  Do not pull the knot through the fabric.  Poke and pull the needle and yarn from front to back on the other end of the ray line.  Unthread the needle.  Tie a knot as close to the burlap fabric as you can make it.  Use your scissors to cut off the extra yarn after the knot.  

Repeat as many times as necessary until you have your desired number of sun rays stitched.  

6. Hang up your sun
Use scissors to trim the extra burlap around the embroidery hoop.  

Using your leftover yarn, tie it to the embroidery hoop screw.  Tie it into a yarn loop at your desired length.  Use this loop to hang up your stitchery.  

7. Optional - Decorate your stitching
While your stitchery will look wonderful without any decorations, feel free to use craft foam, buttons, pens, glitter glue, or whatever else you can find to decorate your sun.  

Every sun stitching is unique!


Monday, May 16, 2022

Community Helpers Toddler Storytime

 Opening #1 - Skinnamarink (action song from Car Songs: Songs to Sing Anywhere by Dennis Buck from Kimbo)

Opening #2 - Sticky, Sticky Bubblegum (fingerplay)

Sticky, sticky bubblegum, bubblegum, bubblegum;
Sticky, sticky bubblegum;
Stuck to your __________.
1, 2, 3, PULL!

(repeat with more body parts)

Letter of the day - "H" is for helpers

Transition #1 - Open-Shut Them (fingerplay) 

Open, shut them
(open and close hands)
Open, shut them
Give a little clap (clap)
Open, shut them

Open, shut them
Put them in your lap
(put hands in lap)

Creep them, creep them
Under your chin
(creep fingers up chest)
Open your mouth, but don't put them in
(do as words say)

Open, shut them
Open, shut them
Give a little clap
Open shut them
Open shut them
Put them in your lap 

Book – Kitten Red Yellow Blue by Peter Catalanotto

Stand-up activity – Busy Family of Workers (action chant found in Artsy Toddler Storytimes by Carol Garnett Hopkins)

Activity - "The Night I Had a Dream" action song from Whaddaya Think of That? by Laurie Berkner 

Transition #2 - Come 'A' Look And See (fingerplay song I first picked up at a workshop conducted by Jane Cobb but can also be found on the music CD The Baby Record by Bob McGrath)

Flannelboard – Can You Guess My Job? (guessing rhyme found in Artsy Toddler Storytimes by Carol Garnett Hopkins)

Closing - Jumping and Counting (action song from Jim Gill's Irrational Anthem & More Salutes to Nonsense by Jim Gill) 


Friday, May 6, 2022

Take & Make Craft Kit: DIY Troll Hair Headbands

 Another successful craft kit that my library gave away.  

Supplies provided in the kit:

Headband
Tulle cloth
Paper ruler
Rubber band
Yarn for tying


What you will need from home:

Scissors
Optional: Ribbon, colored paper, felt, craft foam, etc. for decorating 


Instructions: 

1. Cut your tulle cloth

a) Cut strips of tulle cloth.  Length should be approximately 20 to 24inches long.  Width should be approximately 2-6 inches wide.  Measurements do not need to be exact!

b) For each headband, you will need about 10-30 strips of tulle, depending on how wide you make them and how thick you want your troll hair.  


2. Attach your tulle to the headband.


a) Fold each strip in half to make a loop.

b) Place the loop part way under the headband.

c) Reach through the loop to pull the ends of the strip through the loop.


d) Tighten gently.

e) Repeat for all the strips or until the headband is full of loop knots.  


3. Trim and decorate

a) Once all the strips are on the headband, personalize your troll hair.  Spread the strips apart or push them together for different looks.  One popular style is to loosely gather the ends together and tie with the provided yarn (this helps the hair stand up, too).  

b) Optional: Add decorations like stars or flowers made of paper, felt, or craft foam. 

There is no wrong way to create your troll hair!


Wednesday, April 27, 2022

Dance Together Toddler Storytime

 After two year, in-person storytimes are starting up again!

I started with a change in my usual storytime plan, doing some experimenting.  But things are starting off good!

Opening #1 - Skinnamarink (action song from Car Songs: Songs to Sing Anywhere by Dennis Buck from Kimbo)

Opening #2 - Sticky, Sticky Bubblegum (fingerplay)

Sticky, sticky bubblegum, bubblegum, bubblegum;
Sticky, sticky bubblegum;
Stuck to your __________.
1, 2, 3, PULL!

(repeat with more body parts)

Letter of the day - "D" is for dance

Transition #1 - Open-Shut Them (fingerplay) 

Open, shut them
(open and close hands)
Open, shut them
Give a little clap (clap)
Open, shut them
Open, shut them
Put them in your lap
(put hands in lap)

Creep them, creep them
Under your chin
(creep fingers up chest)
Open your mouth, but don't put them in
(do as words say)

Open, shut them
Open, shut them
Give a little clap
Open shut them
Open shut them
Put them in your lap 

Book - Hop Jump by Ellen Stoll Walsh

Stand-up activity - Clap Your Hands (action song from Toddler Action Songs by Cedarmont Kids)

Activity - If I Was a Bird (action song from Wiggleworms Love You by Old Town School of Folk Music) 

Transition #2 - Come 'A' Look And See (fingerplay song I first picked up at a workshop conducted by Jane Cobb but can also be found on the music CD The Baby Record by Bob McGrath)

Flannelboard - Five Little Dancers (counting down rhyme I found at the Jen In the Library blog)

Closing - Jumping and Counting (action song from Jim Gill's Irrational Anthem & More Salutes to Nonsense by Jim Gill) 


Saturday, April 2, 2022

Sing-a-Song Storytime: Little White Rabbit

 Last year when the pandemic closed all large gatherings, my library continued offering virtual storytimes.  I created this video storytime series along with a coworker, who is a talented musician, to get young children moving around and singing.  It is filled with lots of favorite storytime songs and rhymes, and of course a book!  I really wanted the grown-ups watching along with the kiddos to learn the songs, so I used a split screen technique on the videos to display the words to the songs/rhymes while I am singing and acting them out.  


Opening song - Skinnamarink (https://youtu.be/95JkQfANW9M) 


Action song - A-Tisket, A-Tasket (traditional nursery rhyme sung with a stuffed animal)

A-tisket, a-tasket,
(swing stuffed animal back and forth)
A green and yellow basket.
I bought a basket for my love,
And on the way I dropped it.
(drop animal on the floor)
I dropped it! I dropped it!
(throw animal up in the air and let it land on the floor)
Yes, on the way I dropped it.
(throw animal up in the air and let it land on the floor)
A little baby picked it up,
(pick up animal)
And gave it to their love.
(hug animal)


Transition sit down song - I Have Ten Little Fingers (traditional fingerplay)
I have 10 little fingers
They all belong to me!
I can make them do things
Would you like to see?
I can close them up tight
I can open them up wide
I can raise them up high
I can put them at my side
I can wave them to and fro
And I can fold them - just like so.
 

Book - Little White Rabbit by Kevin Henkes (read with permission by HarperCollins Children's Books)


Action song - I Saw a Little Rabbit (action rhyme)


I saw a little rabbit go hop, hop, hop
(jump)
I saw his ears go flop, flop, flop
(flop hands on head)
I saw his eyes go blink, blink, blink
(point to eyes and blink)
I saw his nose go twink, twink, twink
(wiggle nose)
I said, "Little rabbit, won't you stay?"
(beckon with hand)
He looked at me and hopped away
(jump)


Action song - Bunny Jump Over the Great Big Stick (action rhyme written by Carol Hopkins, use a sock as the stick on the ground to jump over)

Bunny be nimble, bunny be quick,
Bunny jump over the great big stick

Bunny be nimble, bunny be slick
Bunny swim under the great big stick

Bunny be nimble, bunny go click
Bunny run around the great big stick

Bunny be nimble, bunny be fine
Bunny sit down for storytime

Closing song - Down By the Bay (traditional rhyming camp song)

Down by the bay
Where the watermelons grow
Back to my home
I dare not go
For if I do
My mother will say
"Did you ever you ever see a goose kissing a moose?"
Down by the bay!

..."Did you ever see a whale with a polka dot tail?"...

..."Did you ever see a fly wearing a tie?"...

..."Did you ever see a fairy inside a library?"... 


Monday, March 14, 2022

Take & Make Craft Kit: Spin Drum

 I introduced this to-go craft kit as a New Year celebration art activity.  But really, it could be used to celebrate anything!  


Supplies provided in the kit:

  • 2 soup lids
  • 1 sponge brush
  • 2 styrofoam squares (these were needed to make the soup lids stick to the sponge brush handle)
  • 1 piece of yarn 
  • 6 beads
  • 1 roll of washi tape
  • 1 glue stick


Supplies needed from home:
  • Scissors

Directions:

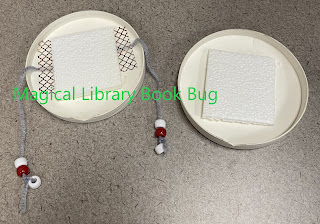
  1. Grab the piece of yarn and beads.  Take one bead and tie it to one end of the yarn.  Thread the next 5 beads onto the yarn, tying the last one to the other end of the yarn.  Slide the beads on the yarn so that 2 beads sit on either side of the yarn.


  1. Grab one of your soup lids and drape the yarn over the inside of the lid, making sure there are 3 beads on either side of the lid. Tape the yarn to the inside of the lid with one piece of tape on each side of the lid.


  1. Grab one of your Styrofoam squares and glue it down to the inside of the lid on top of the yarn.


  1. Grab the remaining soup lid and Styrofoam square.  Glue the Styrofoam square to the inside of the lid.


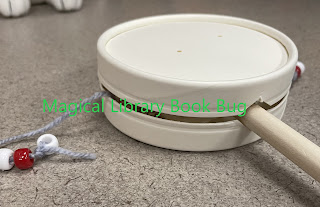
  1. Cut a small notch on one side of each soup lid; you want the dowel of the sponge brush to fit inside the notch.  The notches should be cut below the yarn.  Stack the lids on top of each other to make sure the notches line up with each other.  You can use the dowel of the sponge brush itself as a measuring guide. The dowel should line up perpendicular to the yarn.  

  1. Once you’ve determined the sponge brush will fit into the notches on the lids, apply glue around the edges of the notch and on the Styrofoam square in the center of the lid. Place the sponge brush inside the notch on the lid, making sure the dowel sticks to the notch and the sponge on the brush is sticking to the Styrofoam square in the center of the lid.


  1. Take the other soup lid and apply glue to the notch and the Styrofoam square, then stick it on top of the lid with the sponge brush, making sure that the notch fits over the dowel and the sponge part of the brush is securely inside the two lids.


  1. Set your drum aside and place books, rocks, or other heavy items on top of it as the glue dries.  The weight will allow two lids to stick together more firmly so that the sponge brush will be held more securely.


  1. Once the glue has dried, use washi tape around the edge of the soup lids to keep the two lids held together. (You might need to use two layers of washi tape.)  Once this step is complete, you will have a spin drum!  Have fun!


Friday, February 25, 2022

Preschool field trips return!

 After an absence of two years, the opportunity to conduct preschool field trips at my library presented itself.  I worked with one of the local preschools to create a socially distant field trip experience inside the library building.  

The group sizes were smaller, we couldn't go into the staff area, and masks were worn.  Otherwise, I was still able to show these three, four, and five year olds fun things about the library.  We ended each field trip with two book readings and a chance to play in the children's area.  


I found these two cow books in my cubicle as I was preparing for the field trips.  So I went with a cow theme for my storybook readings.  

The Cow Loves Cookies by Karma Wilson, illustrated by Marcellus Hall

Crash, Splash, or Moo! by Bob Shea

In order to fit in all of the classes at this particular preschool it took dividing the classes into 12 different groups.  I think it was a very positive experience for everyone involved.