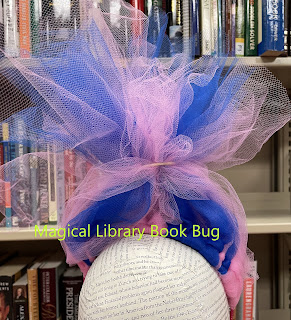
Another successful craft kit that my library gave away.
Supplies provided in the kit:
Headband
Tulle cloth
Paper ruler
Rubber band
Yarn for tying
What you will need from home:
Scissors
Optional: Ribbon, colored paper, felt, craft foam, etc. for decorating
Instructions:
1. Cut your tulle cloth
a) Cut strips of tulle cloth. Length should be approximately 20 to 24inches long. Width should be approximately 2-6 inches wide. Measurements do not need to be exact!
b) For each headband, you will need about 10-30 strips of tulle, depending on how wide you make them and how thick you want your troll hair.
2. Attach your tulle to the headband.
a) Fold each strip in half to make a loop.
b) Place the loop part way under the headband.
c) Reach through the loop to pull the ends of the strip through the loop.
d) Tighten gently.
e) Repeat for all the strips or until the headband is full of loop knots.
3. Trim and decorate
a) Once all the strips are on the headband, personalize your troll hair. Spread the strips apart or push them together for different looks. One popular style is to loosely gather the ends together and tie with the provided yarn (this helps the hair stand up, too).
b) Optional: Add decorations like stars or flowers made of paper, felt, or craft foam.
There is no wrong way to create your troll hair!


No comments:
Post a Comment