
I introduced this to-go craft kit as we welcomed the sun shining in spring! But really, it could be used to celebrate the sun any time of year!

Supplies provided in the kit:
Plastic large-eye sewing needle
Yarn
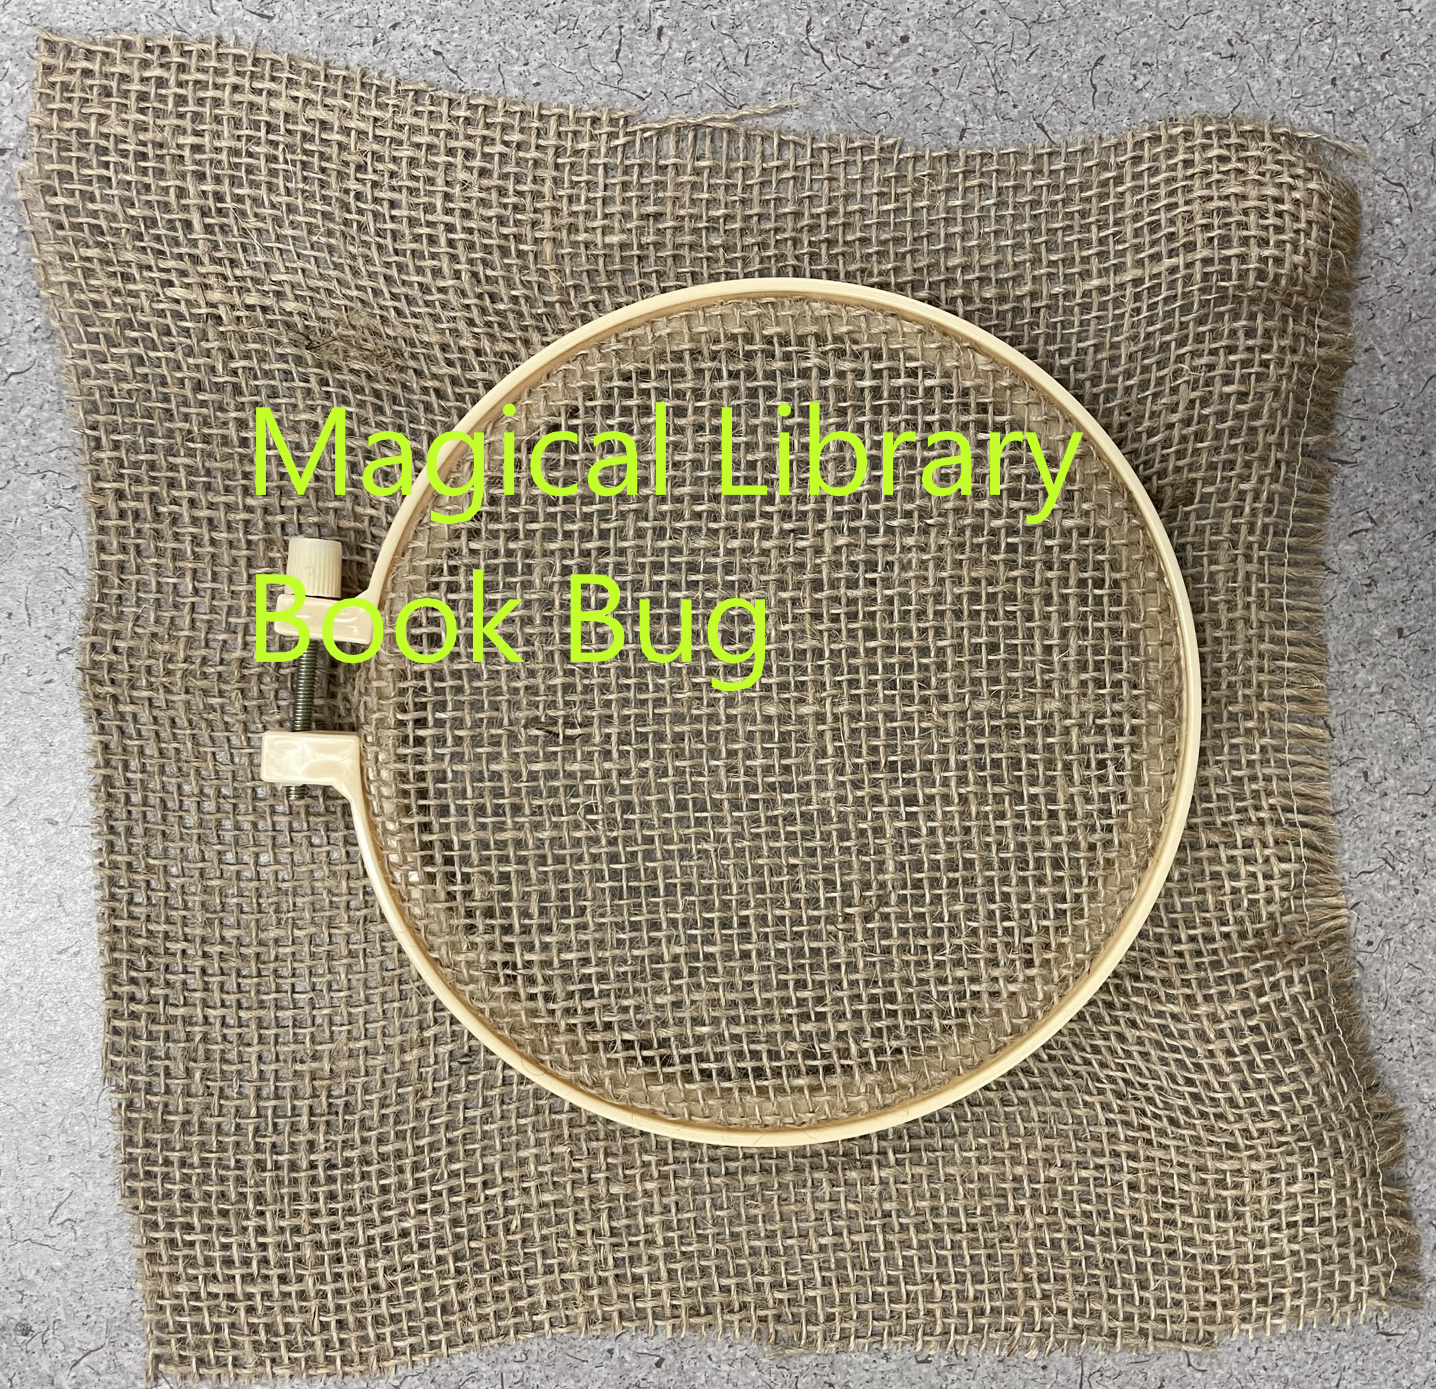
Burlap fabric
Embroidery hoop
Cardboard circle
Pencil
What you need from home:
Scissors
Optional: Pens, buttons, sequins, craft foam, etc. for decorating
Instructions:
1. Clamp the burlap fabric inside the embroidery hoop
2. Thread the needle
Cut the yarn into 2 foot long lengths. Push one end of the yarn through the eye of the needle. Leave about 2-3 inches on one side of the needle. Tie a knot at the end of the long side of yarn. Large knots are best.

3. Trace the circle of your sun
Using the cardboard circle and the pencil, lightly trace the circle in the center of the burlap inside the embroidery hoop.

4. Stitch the circle of your sun
Start from the back side of the hoop, poke the needle through the burlap somewhere along your pencil line circle. Carefully pull the needle and yarn through. Stop when the knot gets to the burlap. Do not pull the knot through the fabric. Now, a little way away from where your yarn came through the fabric, but still on the pencil line circle, push and pull the needle and yarn back through the fabric from the front side. You made your first stitch!

A little way away from this spot, but still on the pencil line circle, poke and pull the needle and yarn through again from back to front. Poke and pull the needle again, a little way away, from front to back. Continue this back and forth stitching from back to front, front to back, all the way around the pencil line circle.
When your stitches go all the way around the circle, make sure your last stitch ends with the needle and yarn on the backside. Unthread your needle. Tie a knot as close to the burlap fabric as you can make it. Cut off the extra yarn.

5. Stitch the rays of the sun
Think about where you want your sun rays to come off the circle. If needed, use the pencil to lightly draw the straight lines of the rays onto the fabric.
Thread your needle. Knot the long end of the yarn. Choose the spot for your first straight line ray. From the back side of the fabric, poke and pull the needle and yarn through the fabric at one end of the ray line. Do not pull the knot through the fabric. Poke and pull the needle and yarn from front to back on the other end of the ray line. Unthread the needle. Tie a knot as close to the burlap fabric as you can make it. Use your scissors to cut off the extra yarn after the knot.
Repeat as many times as necessary until you have your desired number of sun rays stitched.
6. Hang up your sun
Use scissors to trim the extra burlap around the embroidery hoop.
Using your leftover yarn, tie it to the embroidery hoop screw. Tie it into a yarn loop at your desired length. Use this loop to hang up your stitchery.
7. Optional - Decorate your stitching
While your stitchery will look wonderful without any decorations, feel free to use craft foam, buttons, pens, glitter glue, or whatever else you can find to decorate your sun.
Every sun stitching is unique!


